
I did it. Finished the planter box. It took more time than I thought it would. The angles turned out harder to do than I had thought at first. I should have spent more time modeling the joinery in SketchUp. It would have made the construction a little faster. Here it is:
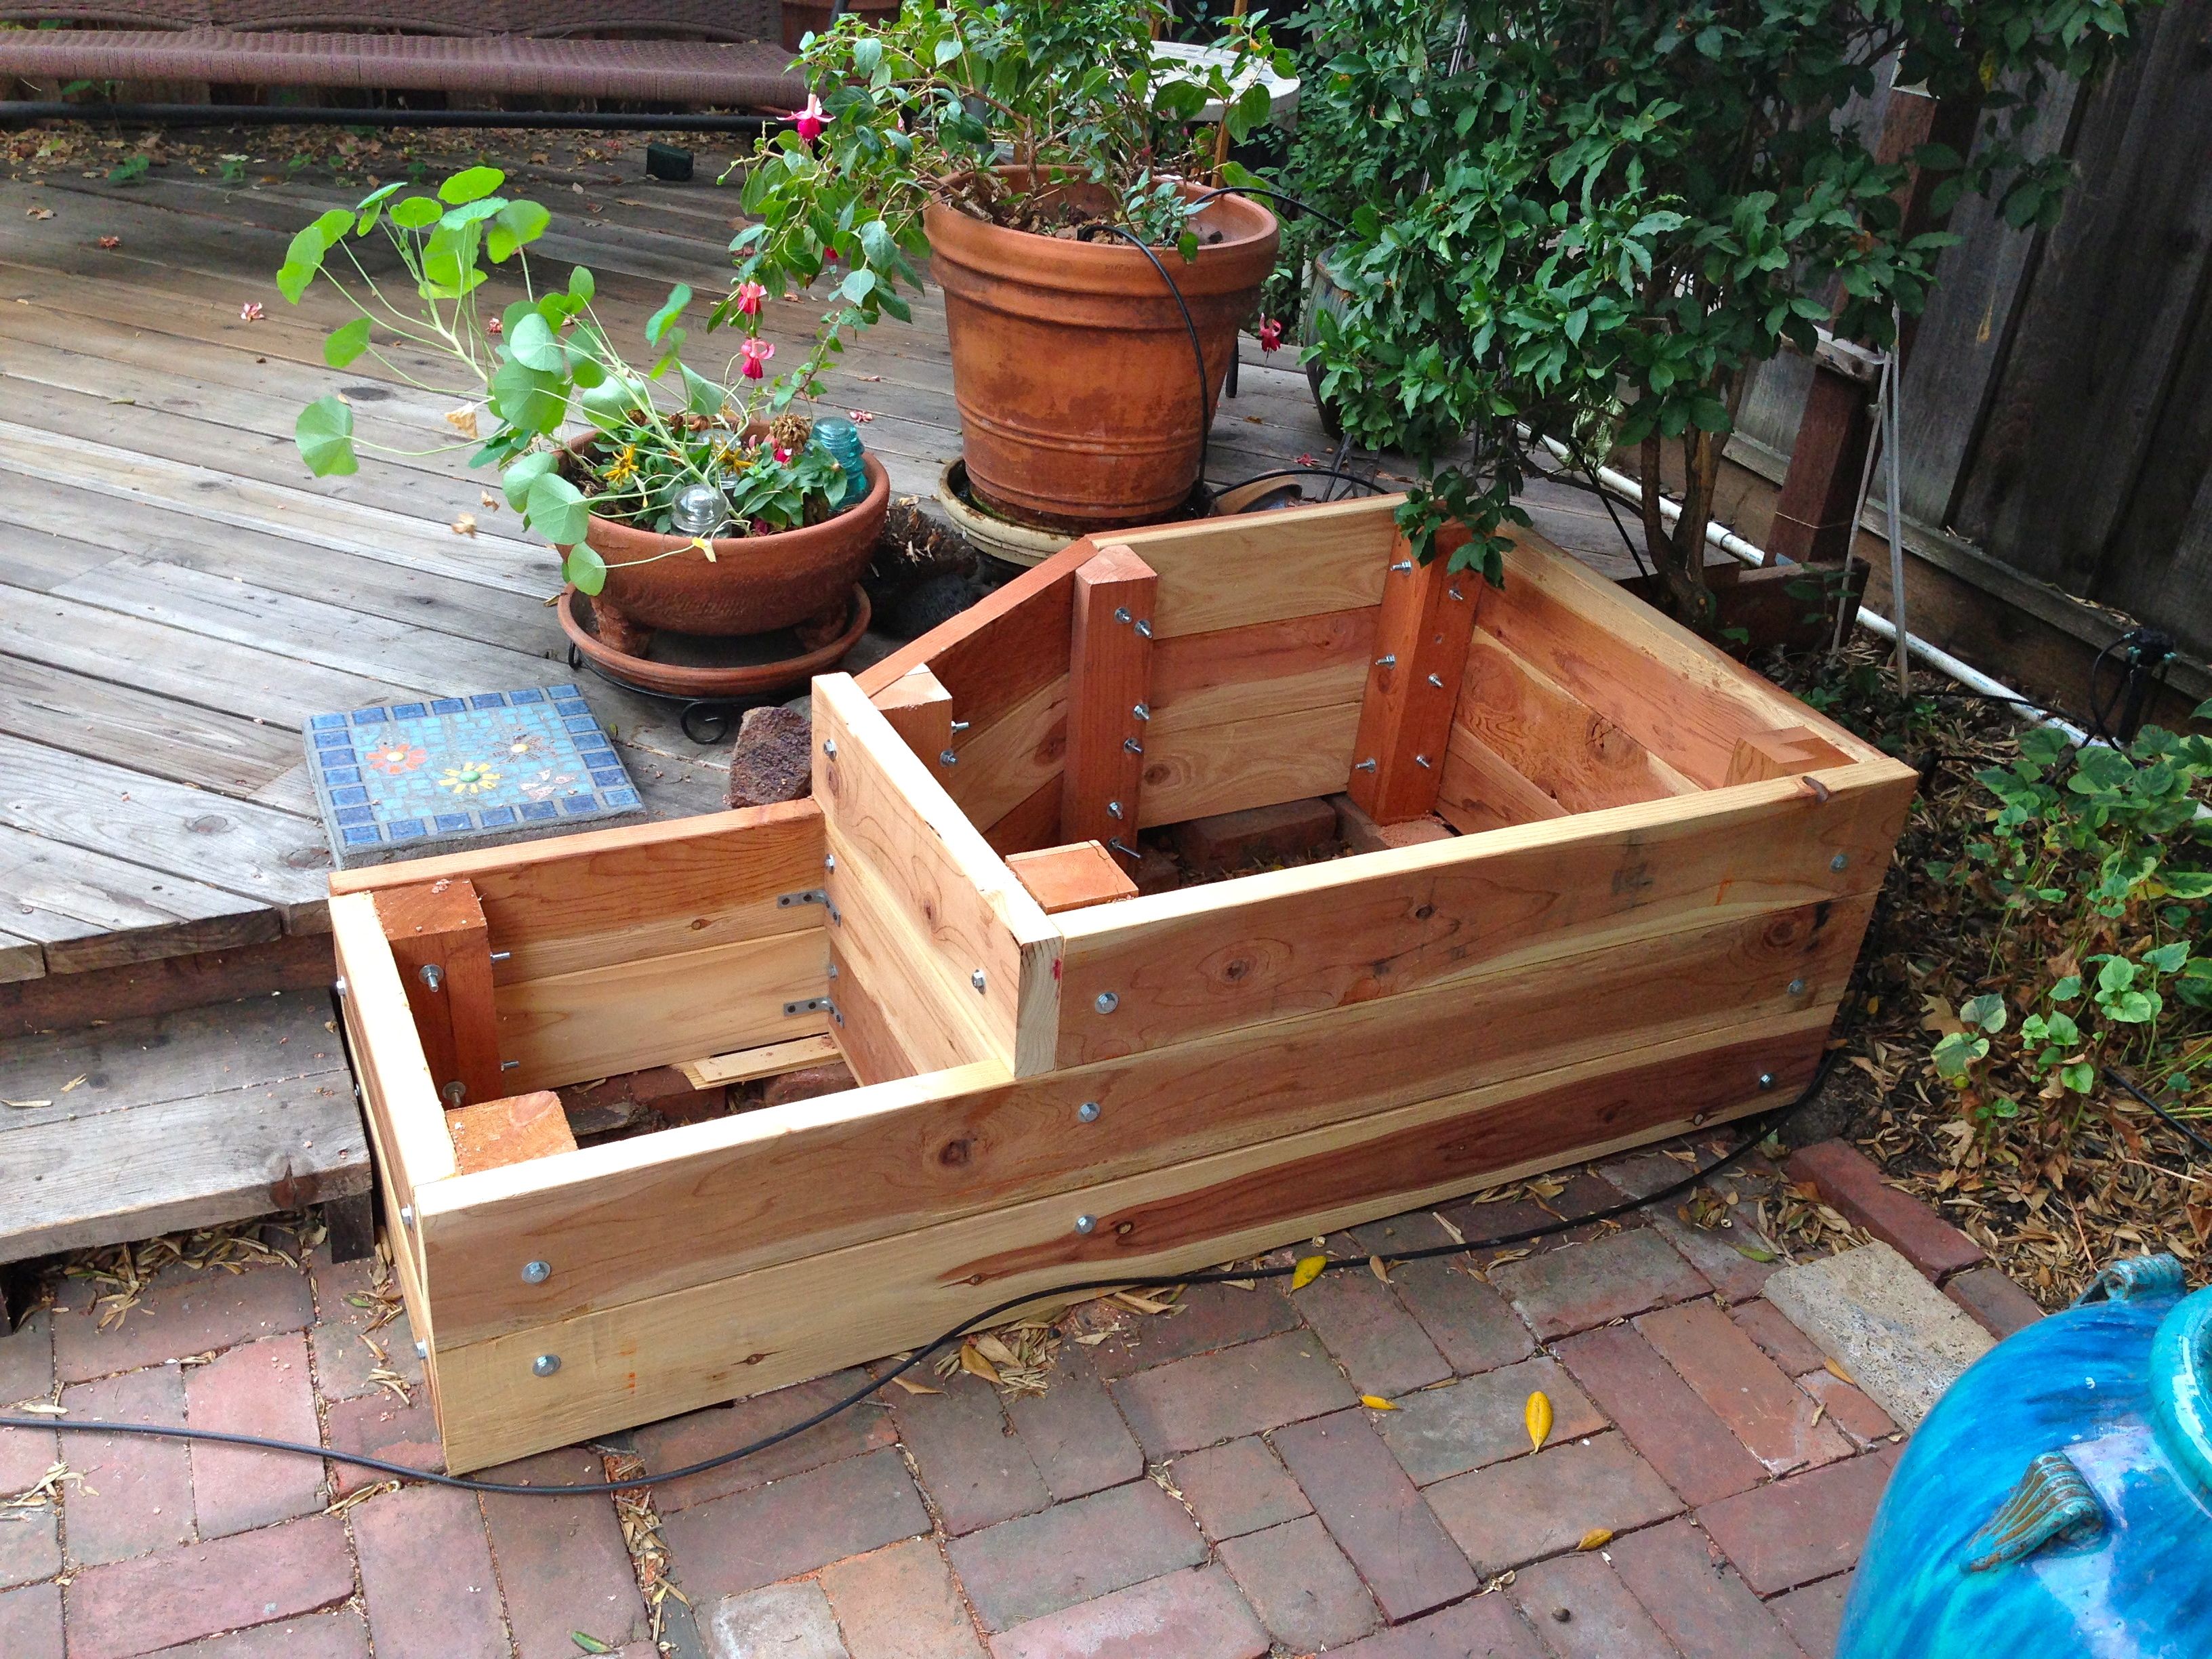
Finished planter box
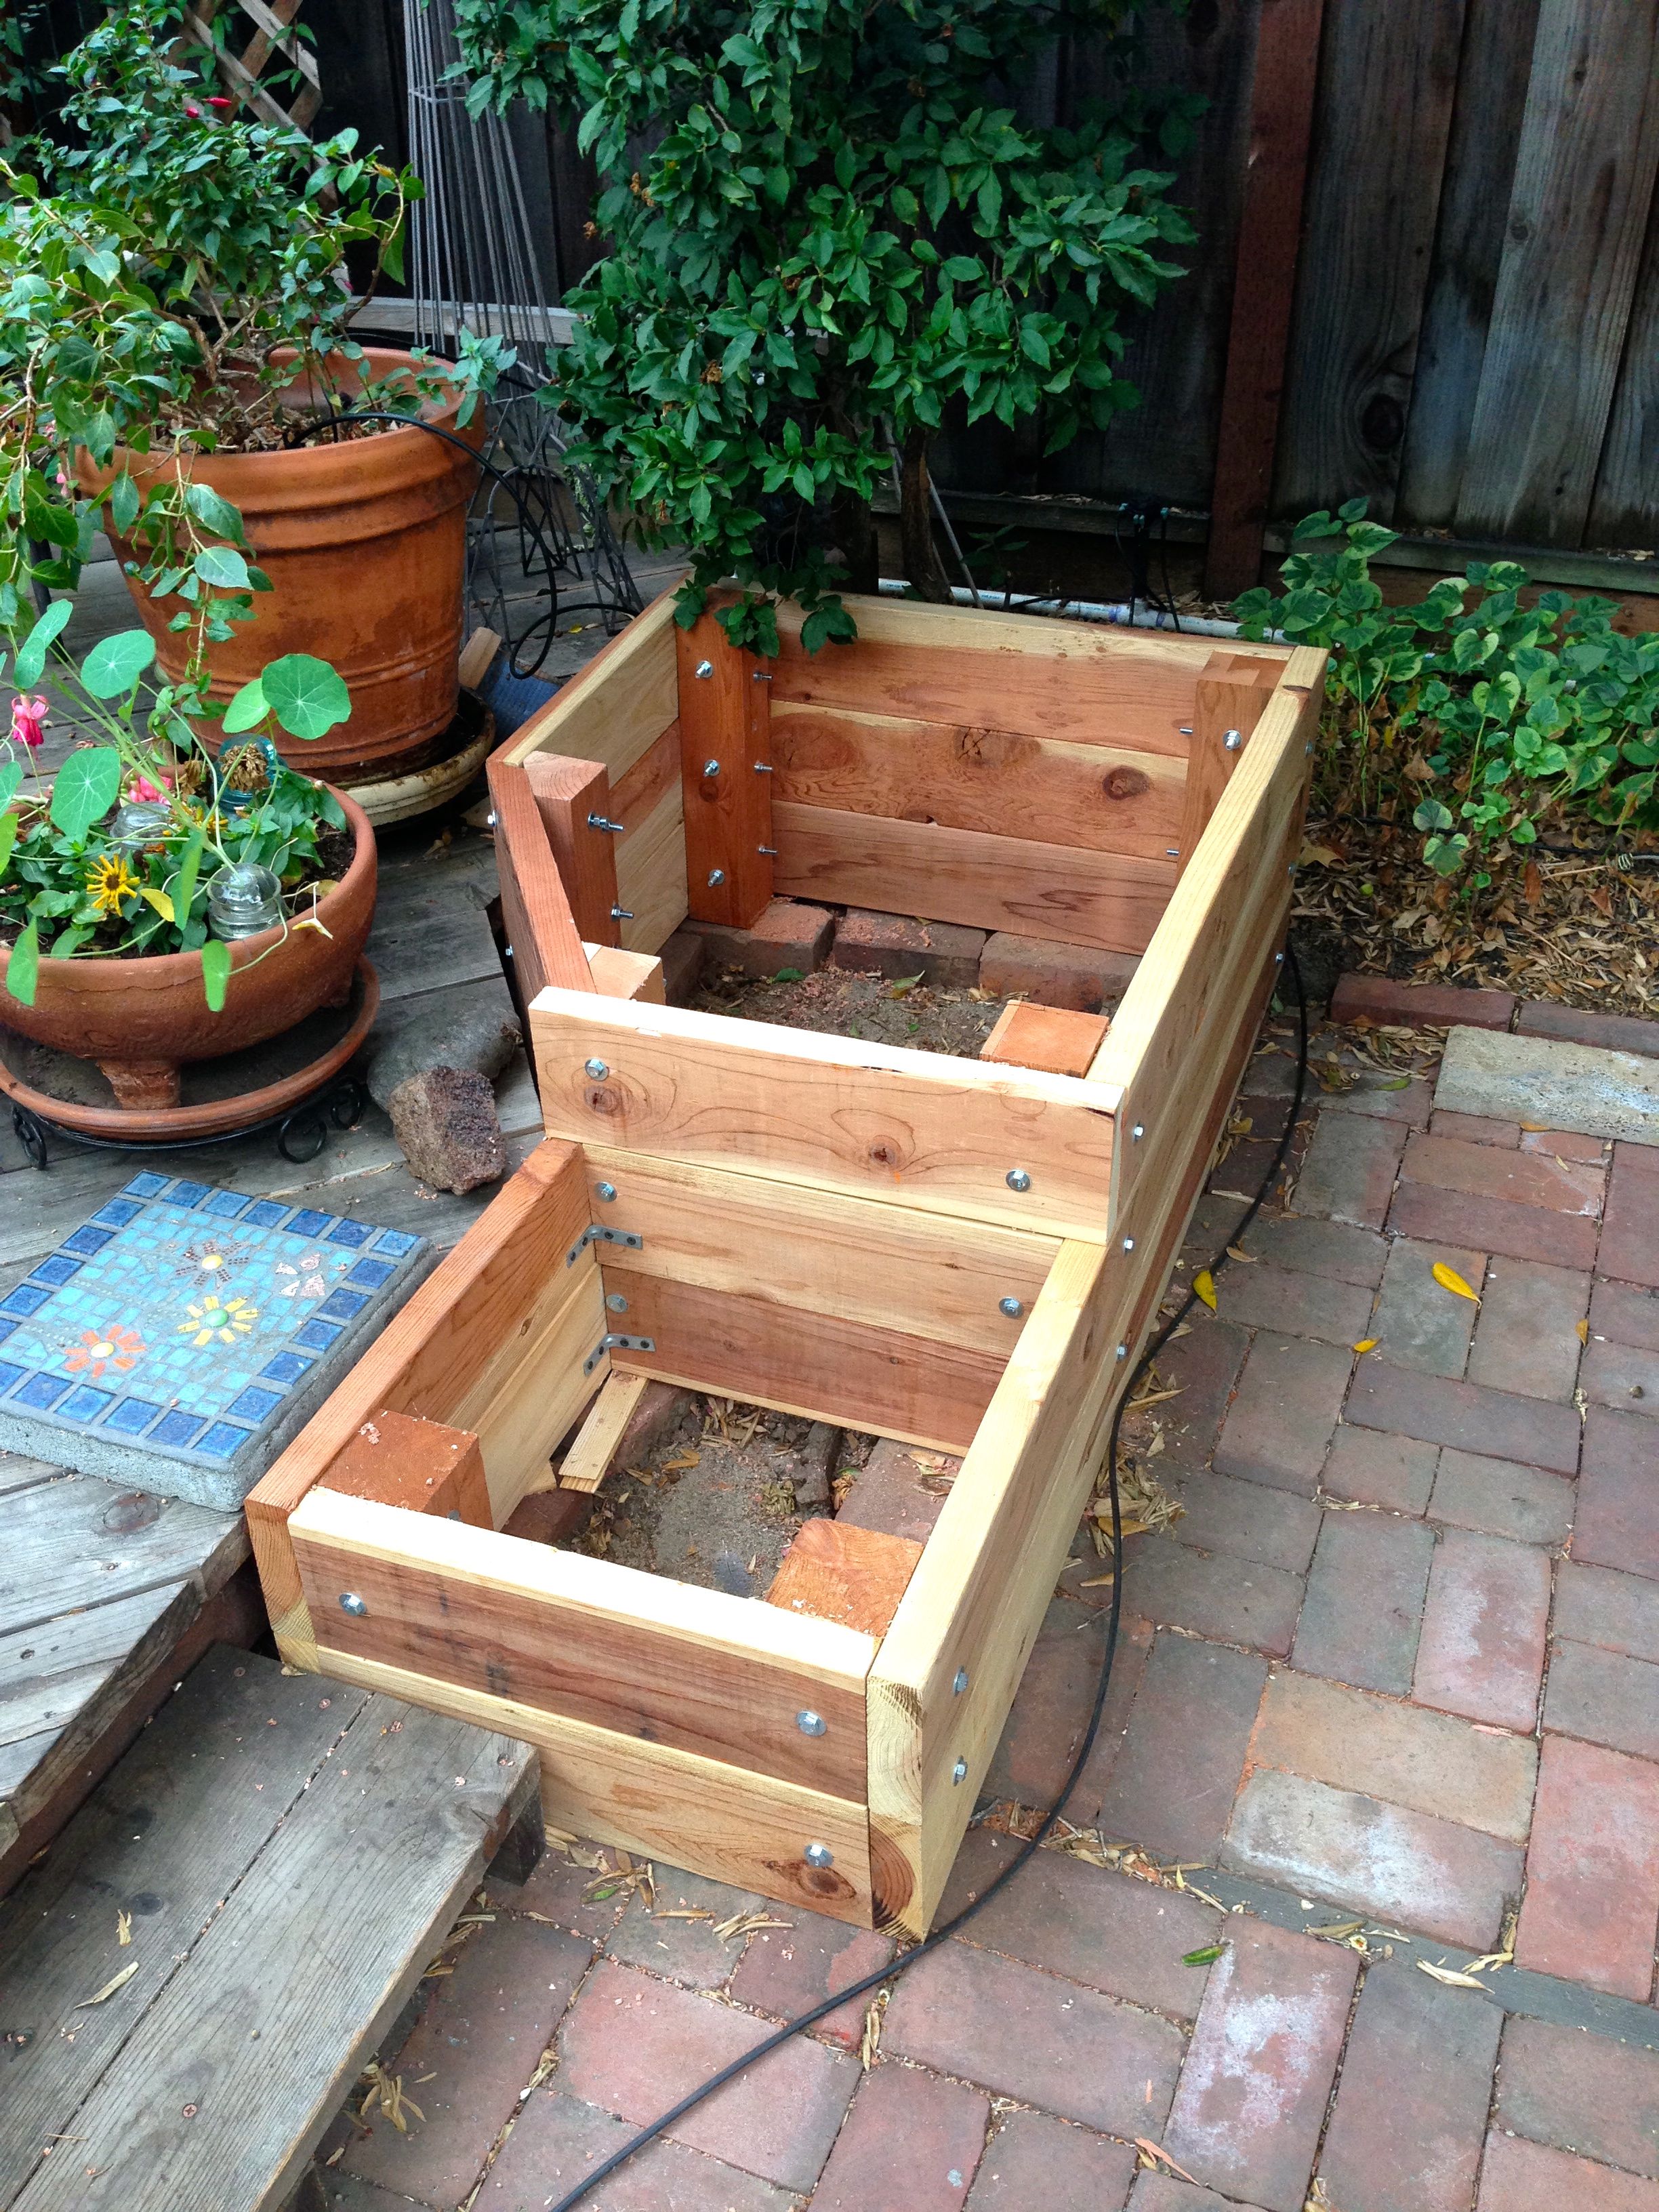
Another angle
The next projects on the work bench include some shelving from recycled wood and a bit of marquetry.
If you need me – I’ll be in the shop,
Andrew

That’s going to give you a lot of service and enjoyment! Beautifully done.
K
LikeLike
Thanks. We’ve put some plants in it and it’s looking good so far.
LikeLike
Beautiful! I hope you post some photos of the planters full later!
LikeLike
Heather just put the plants in yesterday. I’ll get a couple of photos up soon.
LikeLiked by 1 person
My daughter walked over and said, “Oh, that looks cool.” Endorsement from a 10 year old. And I agree with her. So, also and endorsement from a 385279ufaruwoigja-year-old. Sorry, my keyboard got sticky there.
LikeLike
Well, thanks to both of you. I am getting it filled with dirt now. Don’t when we’ll plant anything. Might wait till spring. And sorry about the keyboard. Mine’s been behaving badly too.
LikeLiked by 1 person
That’s great work Andrew. The plants will be protected but shown off nicely by the planter.
Hugs
LikeLike
Sooo cool! You are very talented!
LikeLike
Thanks, I love building things.
LikeLike
Oh, I love it! It’s so unlike your typical planter. And I bet the wood will be even more beautiful as it ages!
LikeLike
Thanks. The red wood I used will take on a grey color as it ages and look like driftwood on the beach.
LikeLiked by 1 person
I’ve always loved the look of driftwood. We’d collect it on the beaches in Homer and decorate our garden with it in Anchorage. 😀
LikeLike
Love your work with the boxes. You are multi-talented. 🙂
LikeLike
Thanks, it’s amazing what you can do with power tools!
LikeLike
Not everyone can do the work you do. 🙂
LikeLiked by 1 person
Just gorgeous and custom made for that nook. You are very talented with both the computer and construction tools. And your choice of materials is such great quality, it really shows. I’ll keep an eye out for photos of it in use 🙂 Have a great weekend.
LikeLike
Thanks for your kind words. Any day with power tools is a good day. We’re just getting this dirt into this week, don’t know if we’ll get anything planted this fall.
LikeLiked by 1 person
I understand and guessed it would be next spring when it made it’s debut 😉
LikeLike
You always do good work, Andrew – I had no doubts.
LikeLike
Thanks – any day you can use power tools is a good day.
LikeLiked by 1 person
It looks great!
LikeLike
Thanks!
LikeLiked by 1 person
Beautiful work, Andrew. Are you going to line the sides and bottom before adding soil?
Ω
LikeLike
No, this is redwood. I’ll get 20 years out of it before it needs to be replaced. Likely, by then I’ll have completely redone the backyard.
LikeLiked by 1 person
Nicely done. Love the wood.
LikeLike
Thanks. It’s California redwood, my go to wood for outdoor projects.
LikeLiked by 1 person
Well done! They look so sturdy.
LikeLike
Thanks, 2X6 lumber with 3/8 inch bolts. You could drive a small car over it. 😉
LikeLiked by 1 person
Do you do all your planning in SketchUp? I’m writing a lesson plan for 7th graders on using that program (which I don’t). Any hints?
LikeLike
I do most (90%) of my planning in SketchUp. Normally I start with simple hand drawn sketch with a rough shape of the thing I am building, then I build the model on the computer. I am not that good at SketchUp, but here are the things I use all the time:
ctl-z (undo) is your friend
The Pull tool builds a lot of stuff.
Learn how to infer points from other parts of the drawing.
You really want a two button mouse with the control wheel. Learn the mouse controls to zoom, rotate and move your imagine. Also find the “zoom to extents” command. Very useful when things go out of control.
Learn how to make and use components. I build a full model out of components, not individual lines or shapes. Once you have a component you can make copies of it. Need six shelves, build one as a component then copy and paste to get the other five. When you edit one component, they’ll all change.
Flipping components (mirror images along one axis) is totally cool. Often I’ll build one side of a cabinet as a component, make a copy and then flip it and presto I now have the other side of the cabinet.
LikeLike
Yes, an excellent job. Now the most difficult bit…..deciding what to plant in it for the spring!
LikeLike
Thanks. I have a simple solution to the plant decision process. It goes like this, “Heather, what did you want me to plant here?” She tells me and I plant. 😉
LikeLike
you wood (pun intended) be handy at the cottage, trying to decide how to build planter boxes into our patio area. Nice work!
LikeLike
Thanks. When I was five years-old, I got a “Handy Andy” tool kit for Christmas. Now that I have grown up tools, you can call me, “Handy Andrew.” 🙂
LikeLiked by 1 person
LOL
LikeLike
Nicely done, I could use a few of those myself at home – yes,I am thinking about spring (already in denial about winter). Great work! Harlon
LikeLike
Thanks, I’ve built four of these style planters so far. One is 16 feet by 6 feet. Seems like I am making them smaller and smaller as I get older. And winter? We don’t use that word much here in California, I’m never exactly sure what that means… 😉
LikeLiked by 1 person