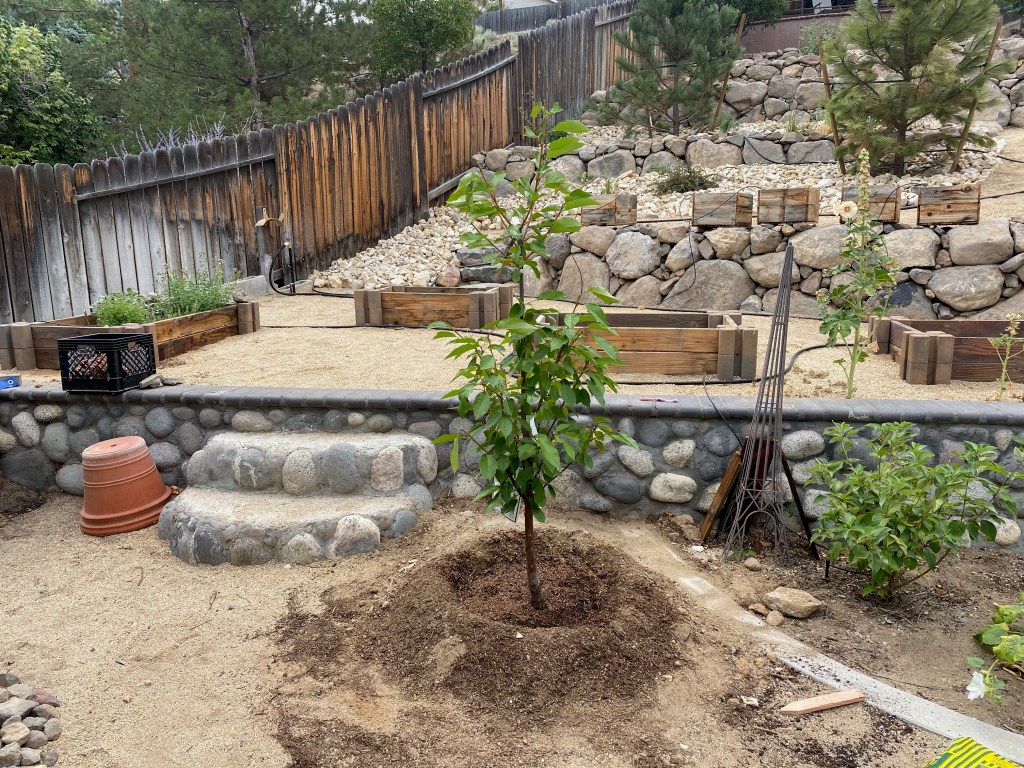
We bought two new trees for the yard and I used a credit card to plant them:
The new apple tree.A new cherry tree.
We bought these two at a local nursery and they had a service that would deliver and plant the trees. Took me about five seconds I get my credit card out to pay for that. The crew showed up last week and hopefully in a year or two we’ll get some fruit from these.
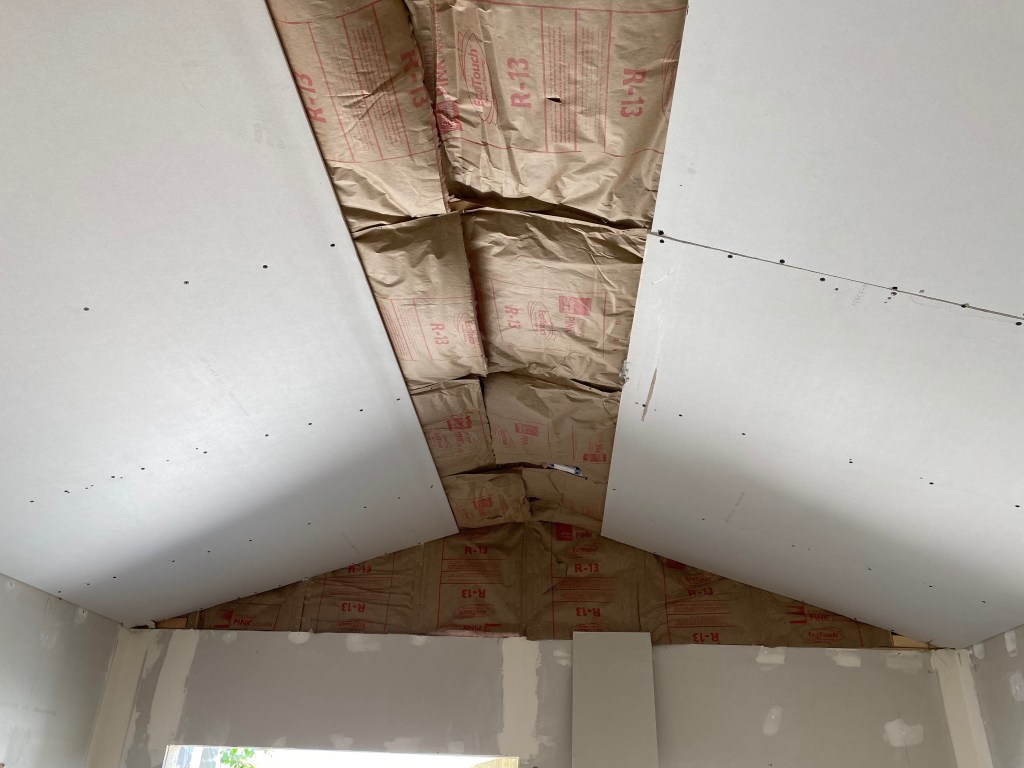
In the shop my grandson has been over and we hung four big 4×8 sheets on the ceiling:
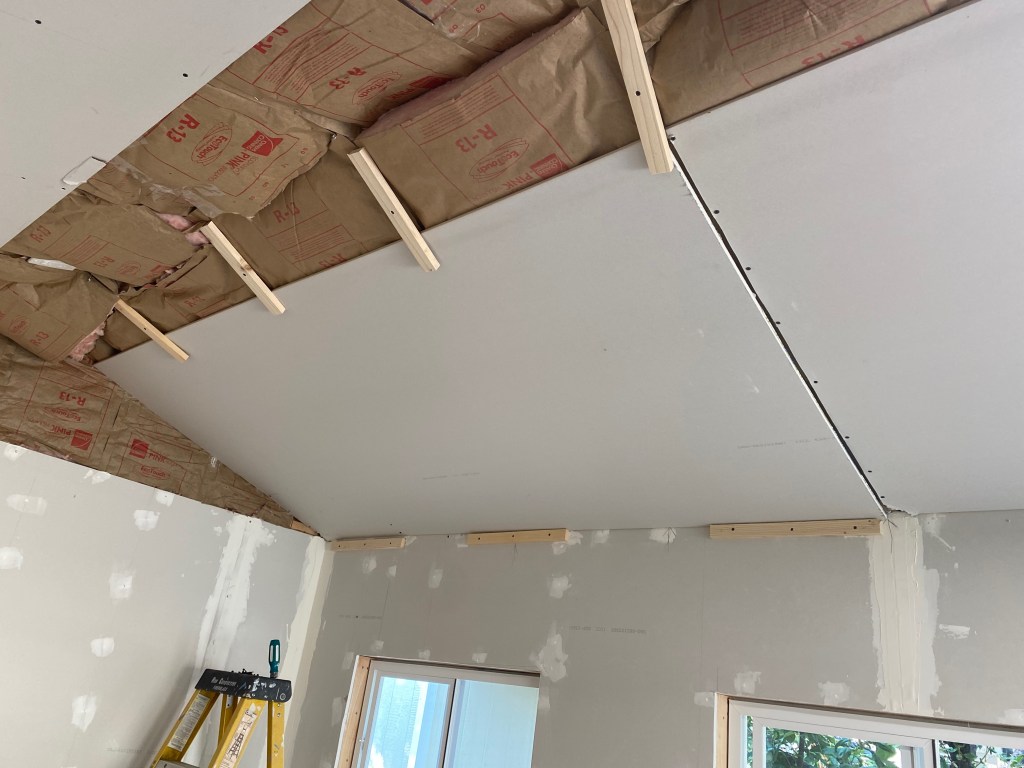
This is a full 4×8 sheet hanging from cleats. Next step is to put in the drywall screws to finish installing it.
I don’t have a drywall lift so I resorted to the cleat method of hanging. To hang the sheet, we lifted it on the wood strips on the wall and then turned the cleats higher up to hold the other end. Then we moved quickly to get the screws in to secure it to the rafters.
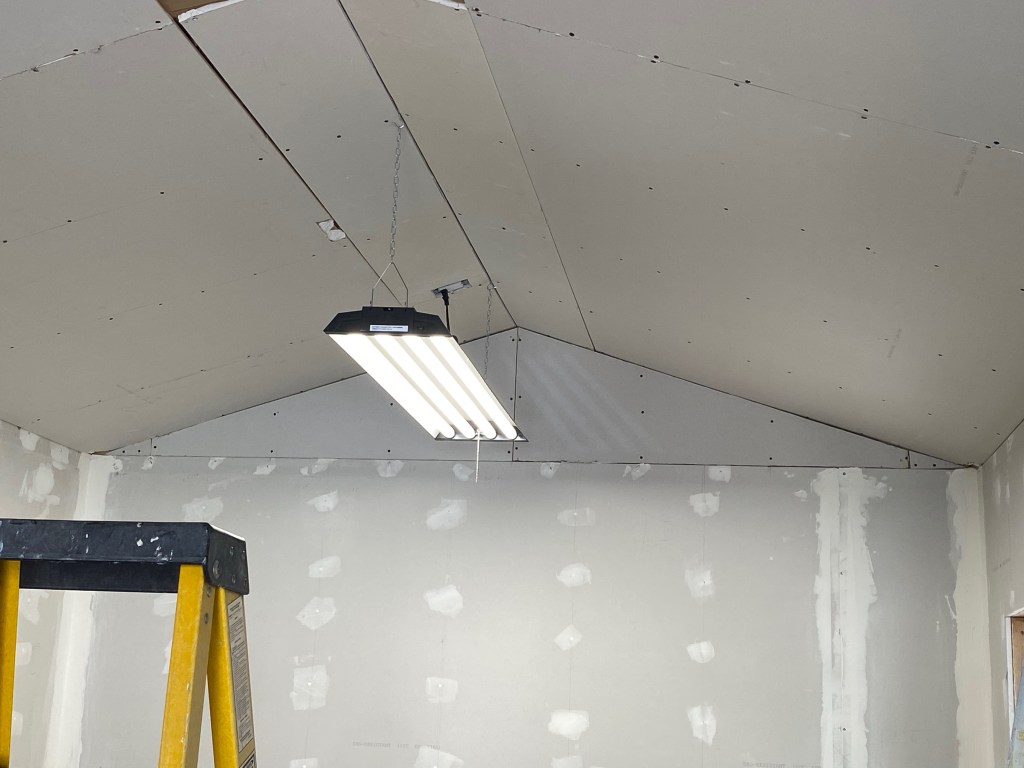
After that I put up some smaller pieces to complete one half of the ceiling:
Finished hanging the drywall in one end of the shop.
All that is left for the drywall is four small pieces on the other side of the shop:
This is the last area to hang drywall. This will need 4 pieces cut.
That means I’m almost done with the shop. All that is left is: mudding, painting, floor installation, insulating the door, painting the outside, window trim, door trim, installing dust collection, building the cabinets, and moving in my tools.
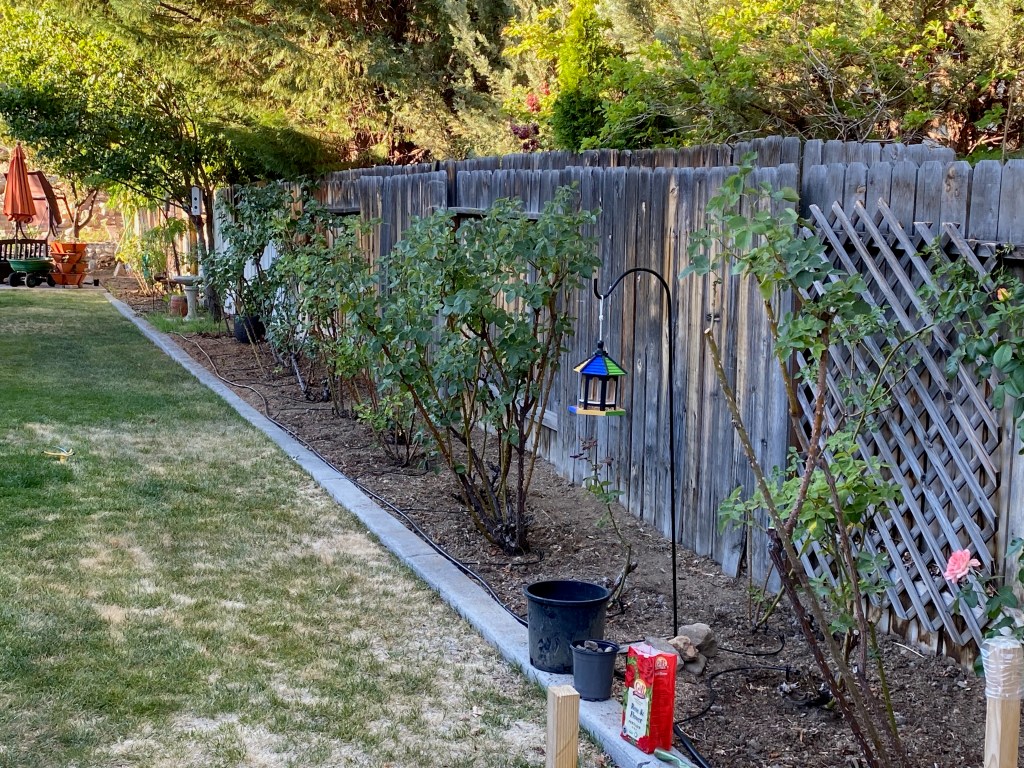
Our backyard has a lot of roses. Something 15 or so. I’ve tried counting them but I keep losing track. We think most of these are 10 to 20 years old and in bad shape. They all needed to be fertilized and the ground worked over. There were a lot of roots, weeds and even lawn encroaching on them. It’s taken a couple of weeks to get them to this state:
The rose bed. This is about 10 of the 15 or so roses in the yard. The red bag is the fertilizer.
Heather started working on them, but after a couple of mornings she asked me to help out. With the heat we’ve had here we’re only able to work an hour or two early each morning. We’ve had one blooming of roses this year and hope for a second. Sadly, we think a few of these will need to be replaced next year.
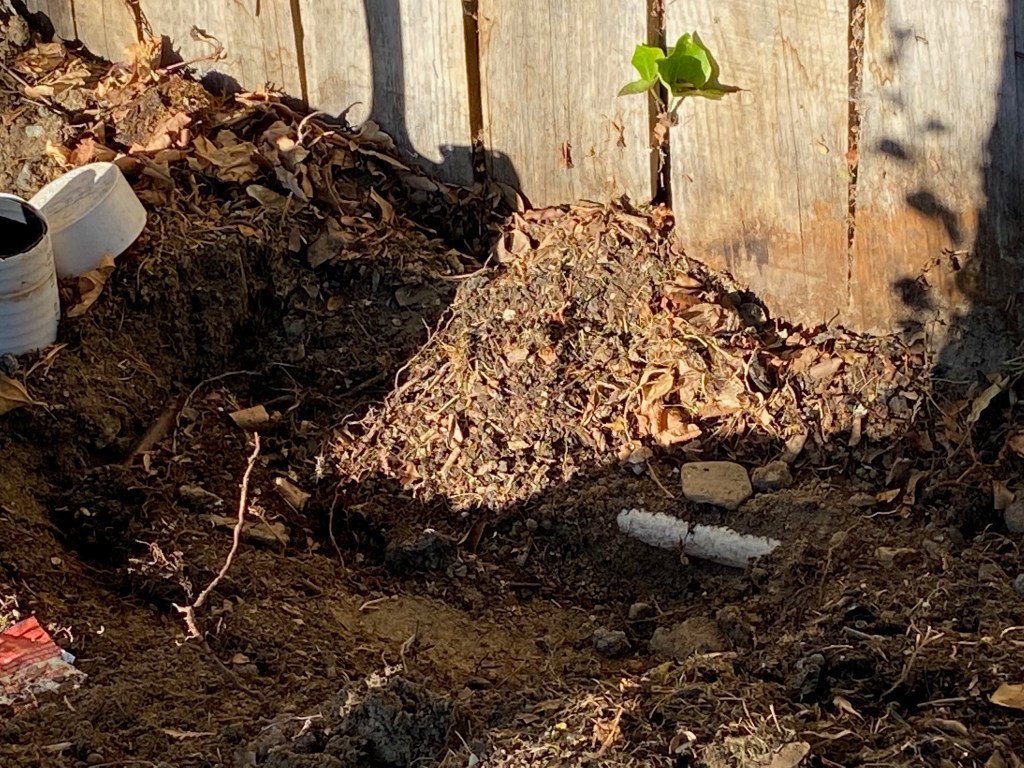
I got around to fixing the irrigation line, but it turned into a bigger issue than I wanted. A buried valve was leaking and I had to trench through mud to find it. Then I found that the main cutoff valve for the line won’t full turn off the water so I had to do the repair with a small trickle of water coming out so end up with this:
The repair – a glue joint and a compression fitting. Yes the pipe curves. The foot belongs to me.
Normally I prefer to glue in buried pipes but because of the bad cutoff valve and the curve in the 1 inch line I opted for one glued fitting and using a compression splice. I worry that the compression splice might fail at some point. Fixing the cutoff valve isn’t a project I wanted to tackle right now as that valve is buried 4 feet down and would require digging a 4x3x6 foot hole to get to it. Not happening anytime soon.
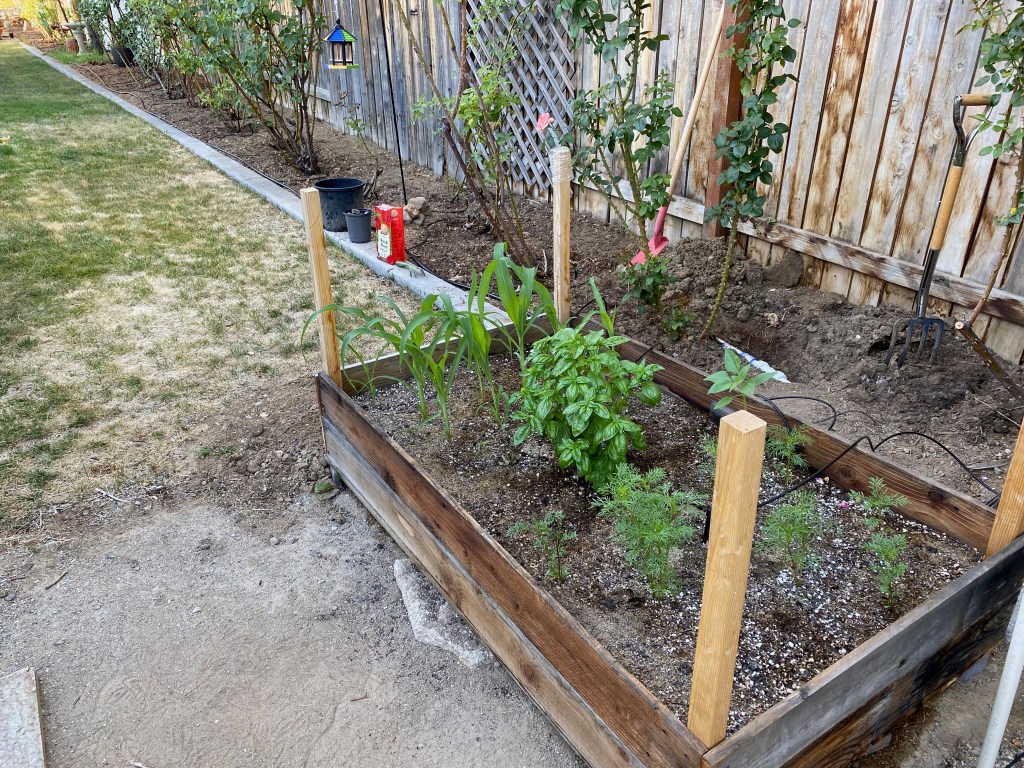
One of the raised beds with corn and other plants. The line repair is show behind that. Also shown is my favorite trenching shovel.
The real problem with the cutoff valve is that in the winter I need to completely turn of the water and drain the line. It gets cold enough here in winter that irrigation lines can freeze and burst if there is water in them.
My solution for this year is to locate a new cutoff valve somewhere else on the line where I don’t have to dig as deep to do the work. We also need a couple of new irrigation watering zones so the next project is to cut into the line, install a cutoff and new irrigation valves. This looked like the right place:
Location of the future cutoff valve and new valve box to split the existing irrigation zones into more manageable chunks.
It will be a few more weeks before I get to that project as I’m still doing drywall in the shed. I’ll have pictures of that next week.